


Move your data from PC to Mac | iStore
When you move from PC to Mac you naturally want to make sure that all of your precious data and settings are transferred safe and sound. Windows Migration Assistant* is specifically designed to help you get from A to B smoothly, while dealing with all the tricky problems of transferring all of your files to the right places on your new Mac. It sets your new Mac up in a way that resembles, as closely as possible, the same way your PC was configured.
Before you begin.
Make sure Windows is updated to Windows XP or later.
Have the administrator name and password of your PC handy.
Connect your PC and Mac via ethernet or to the same network.
Run check disk (chkdsk) utility on your PC to check for any issues on Windows. Make sure all of the issues have been cleared before moving forward.
Ensure you have backed everything that is on your computer.
Let’s get started.
Step 1 - Get the process going.
Install Windows Migration Assistant on your PC machine.
Quit any Windows apps.
Run the Migration Assistant and follow the on-screen prompts.
Step 2 - Link your PC and your Mac.
Start up your Mac.
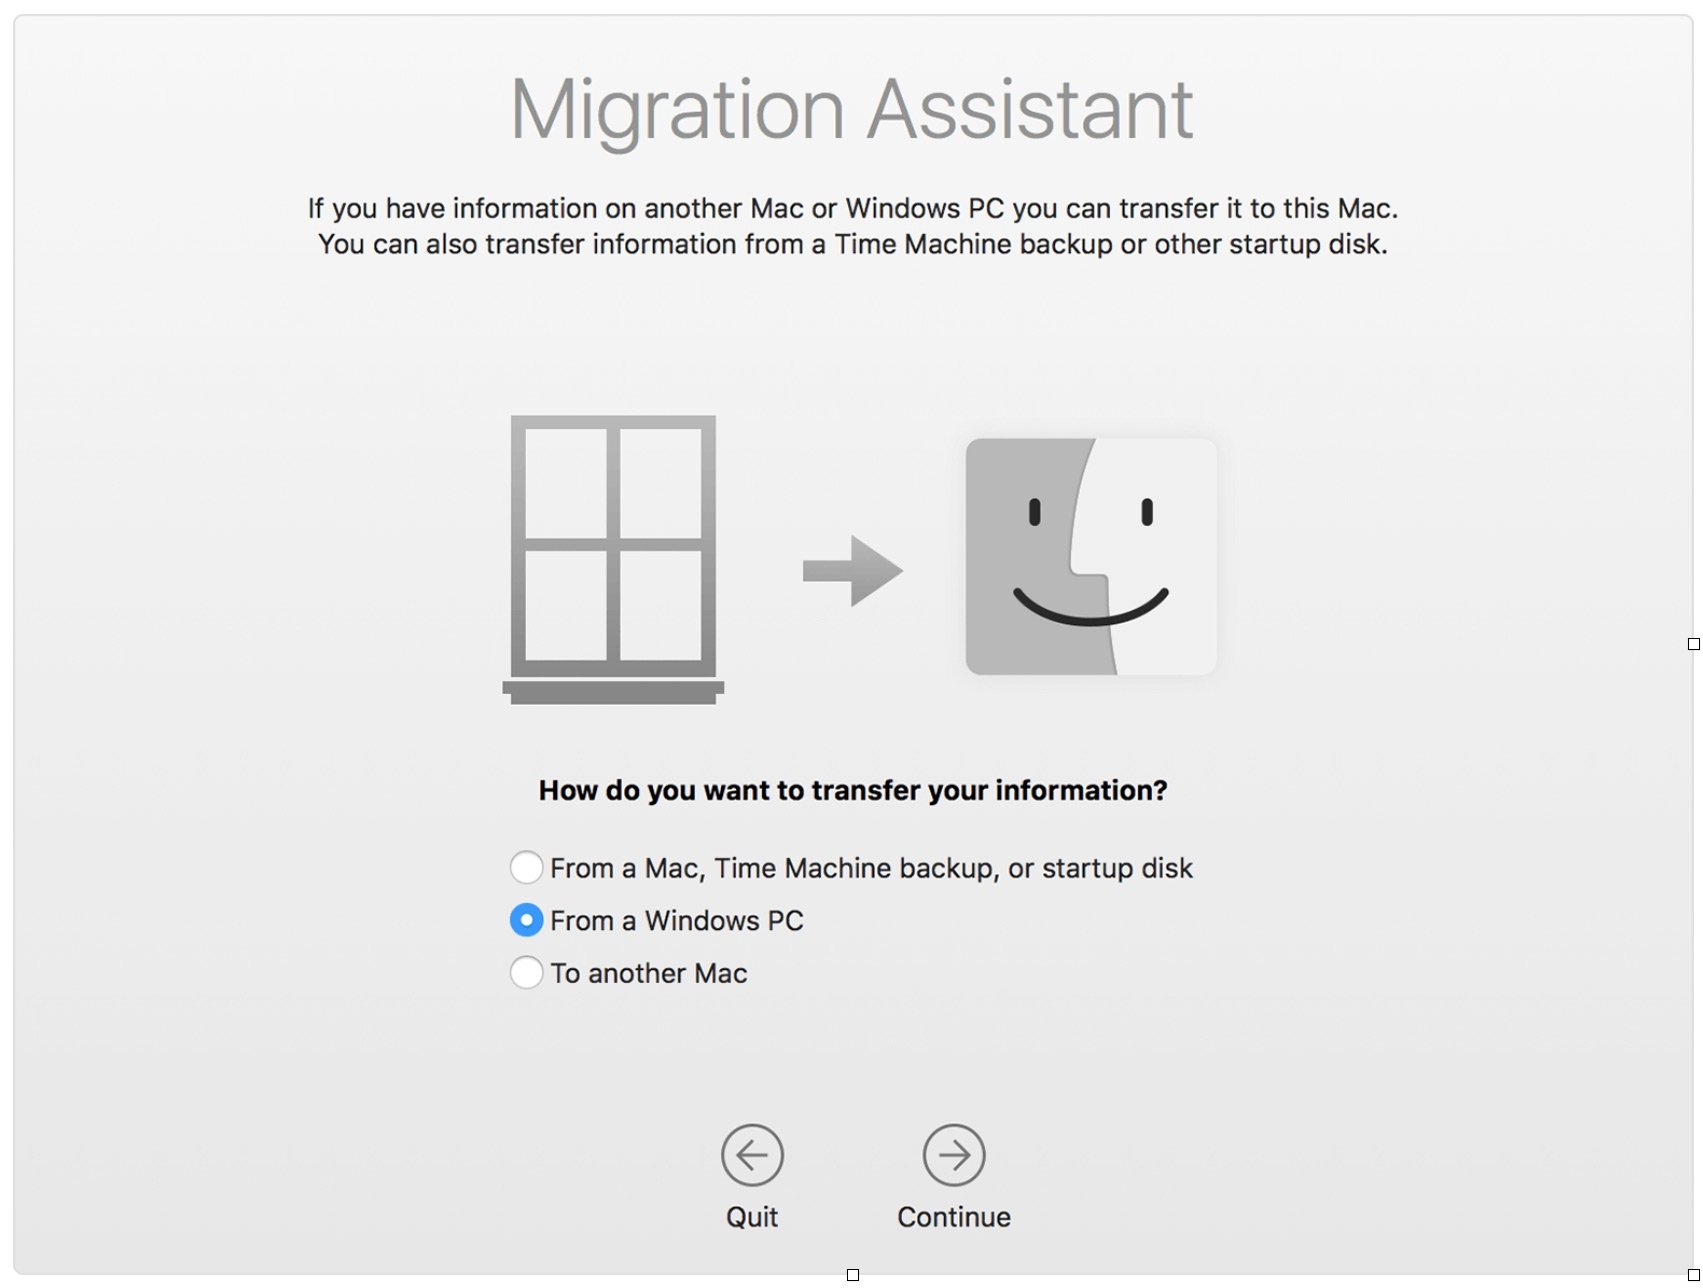
Follow the on-screen prompts when you get to the migration pane of the assistant. If you have already set up your Mac then you will find Migration Assistant in the Utilities folder.
Select the option to move your information “From a Windows PC”.
Follow the prompts.
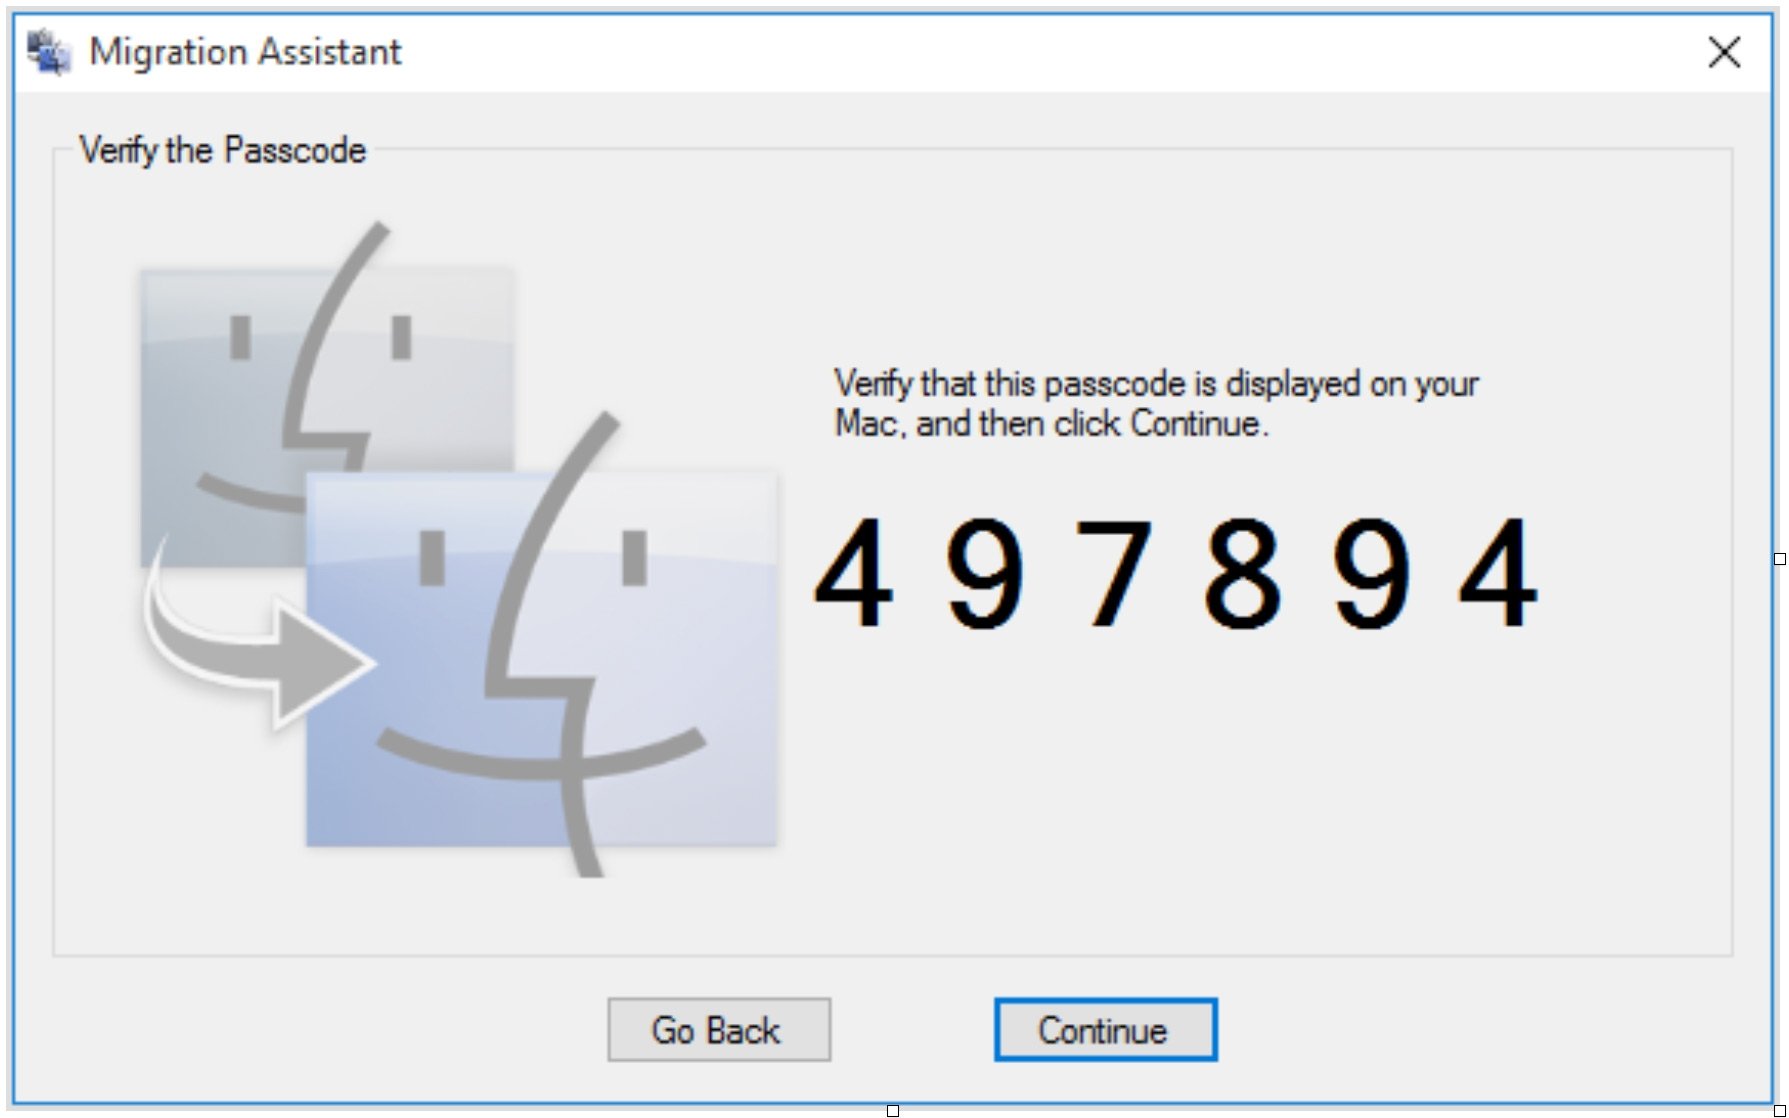
Select your PC from the list of available computers. A passcode will appear.
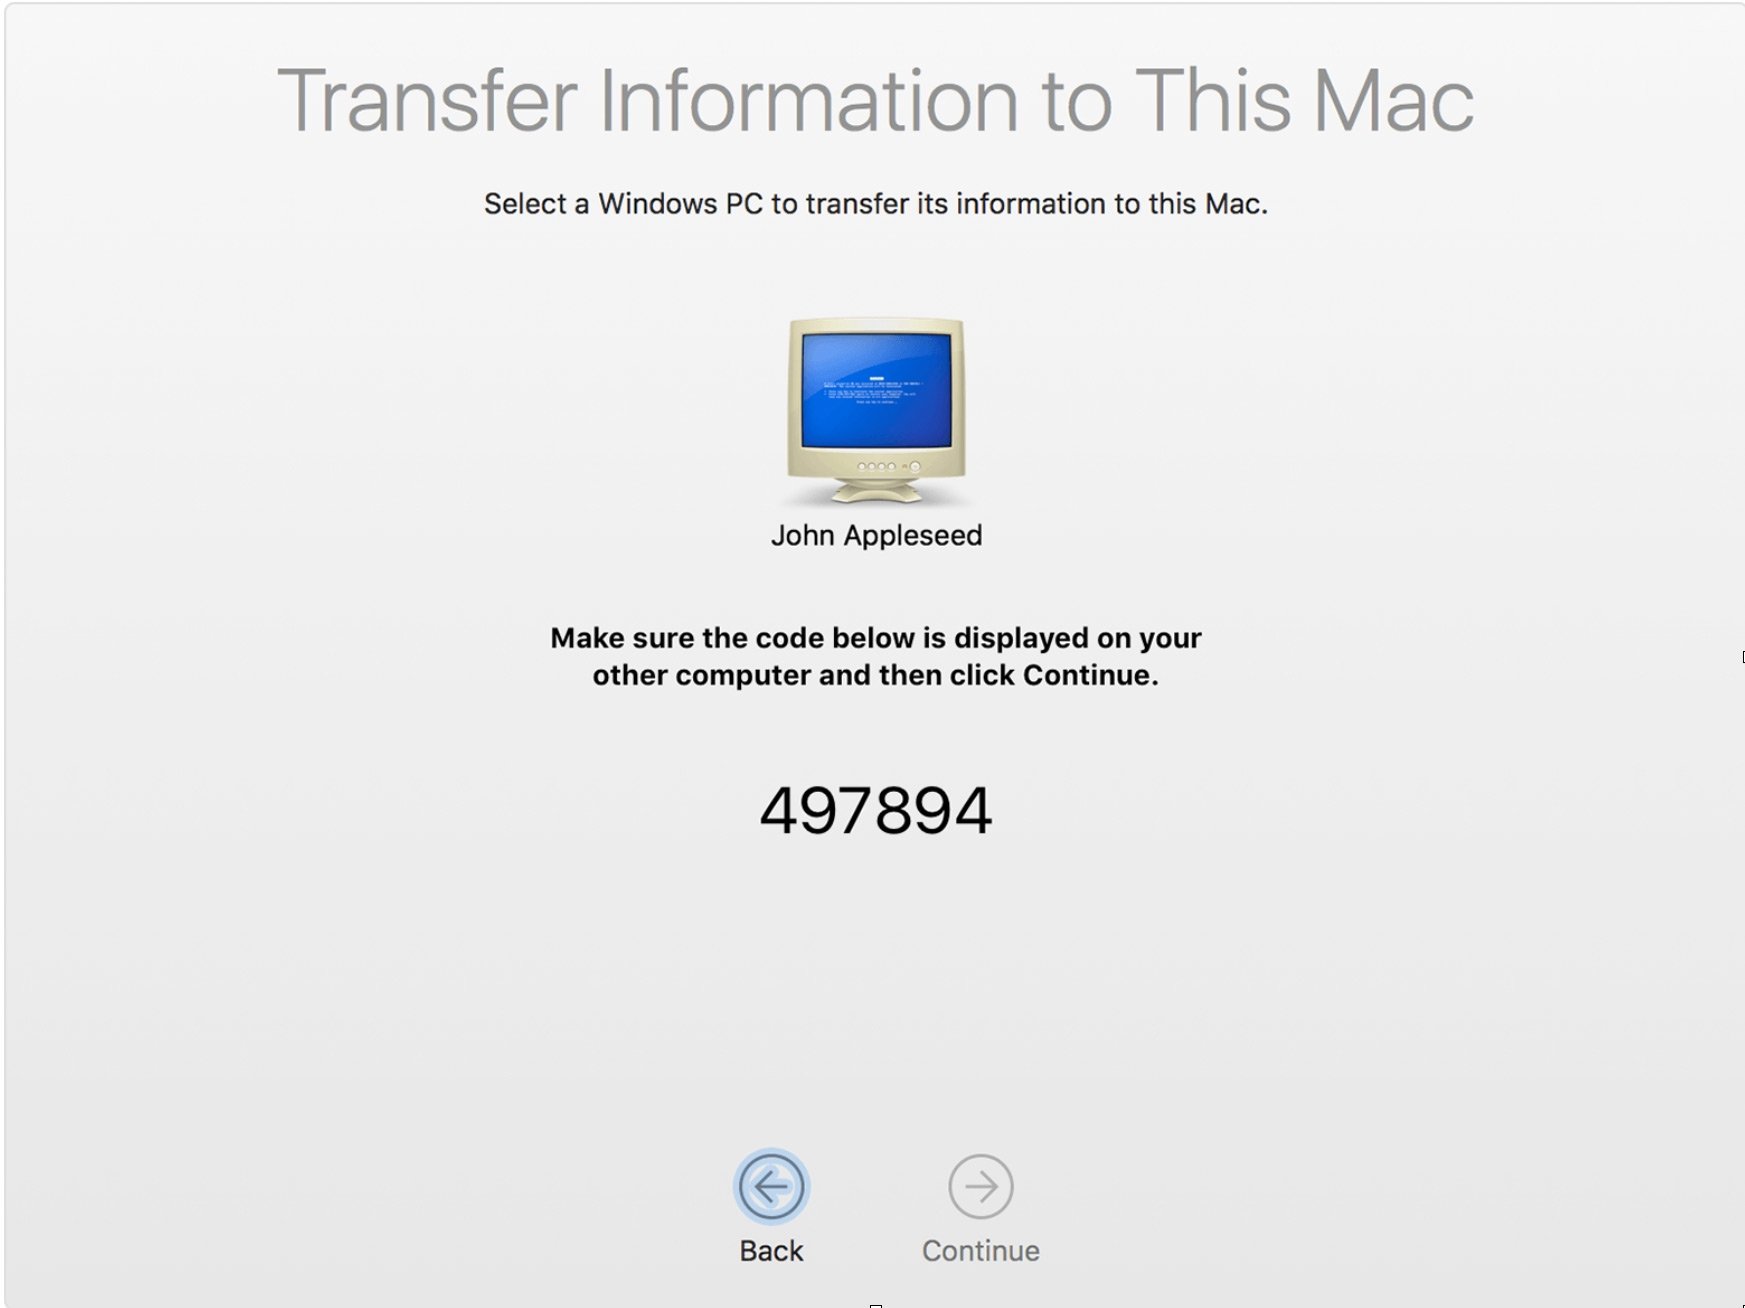
The same passcode will appear on your PC. Click continue on your Mac and PC.
Step 3 - transfer your information.
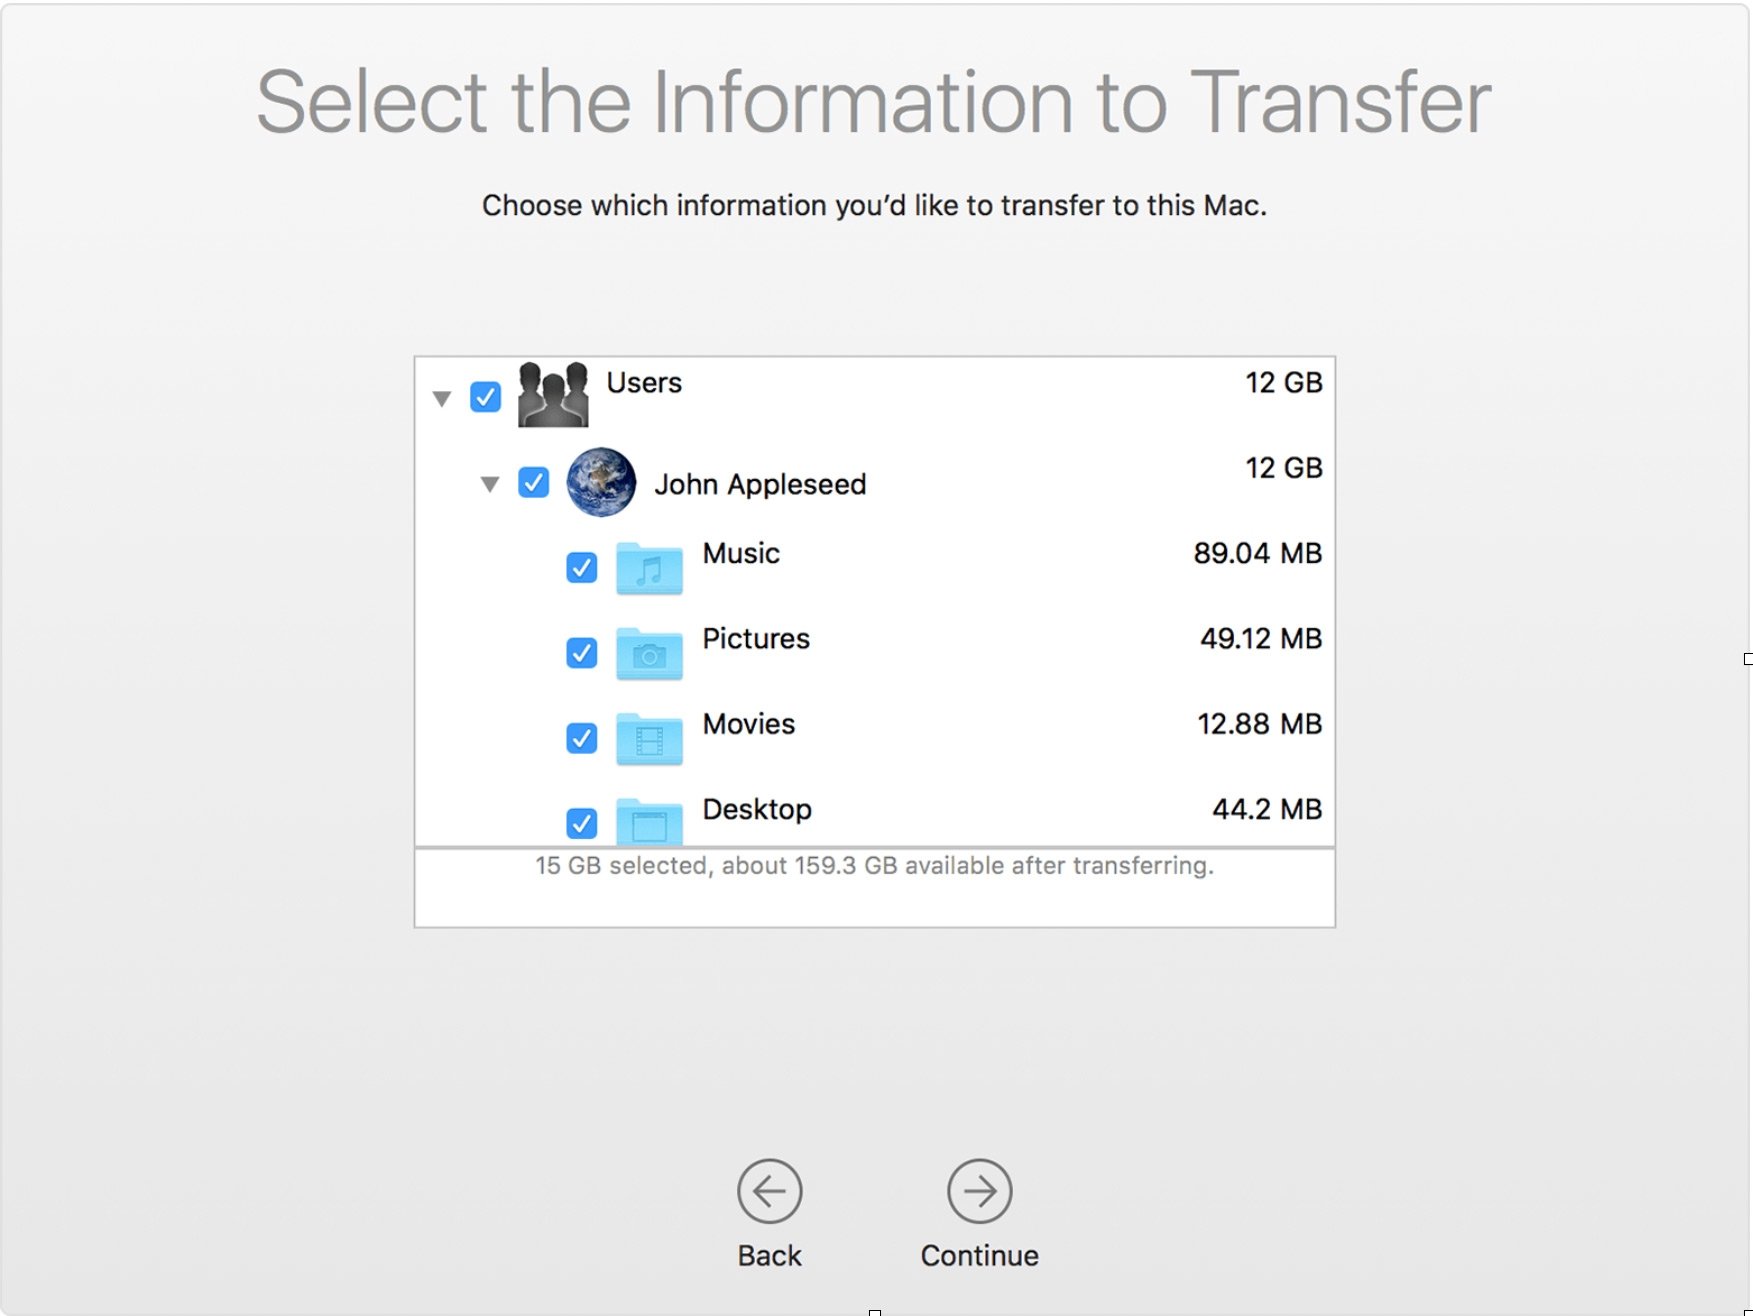
Your Mac will scan your PC for all the data that you may want to migrate.
Select which data you want to transfer and click continue.
Step 4 - what to do once you have moved your data
When migration completes, close Windows Migration Assistant on your PC.
Log into your Mac, you will be asked to set a new password.
Authorize your new Mac in iTunes.
If you had any issues, make sure you have done the following:
Quit other Windows apps.
Check that your PC and Mac are on the same network.
Check that your anti-virus software is turned off.
The information that you can transfer from PC to Mac
Here’s a summary of the sort of data that gets transferred when you move from PC to Mac.
Email, contacts, and calendar information
Outlook / Outlook Express - People, IMAP and POP settings, appointments, messages
Pictures
Windows Mail - IMAP and POP settings, People
Windows Live Mail - IMAP and POP settings
Internet Bookmarks
iTunes content
System settings
Some things to consider
Before transferring your data, have a think about what information you already have stored in the cloud, on Dropbox for example. To access this information on your new Mac all you need to do is log in to Dropbox.
If your email is stored on an IMAP server then all you need to do is transfer the settings, or just enter them manually in Mac mail and all the emails for that account will be downloaded automatically.
If you use Google docs for all of your word processing and spreadsheets then it will be right there in whichever Mac browser you are using.
Think about any of your other content like music and photos and if they are already stored in the cloud, it may just be easier to log in to that same service on your new Mac and access it that way.
There may also be some data that is easy to move across manually so that you have complete control. You can do this using file sharing, granted that your PC and Mac are on the same network.
Make sure file sharing is enabled on your PC and then on your Mac
Look for ‘Shared’ in your sidebar in the Finder window and click ‘All’.
Select your PC and connect, using your login details.
You will see the folder that you shared on your PC. You can then look through the items and select the ones that you want to transfer by dragging them to a folder on your Mac.
*Comes with OS X El Capitan and newer
Visit iStore for more information: www.istore.co.za